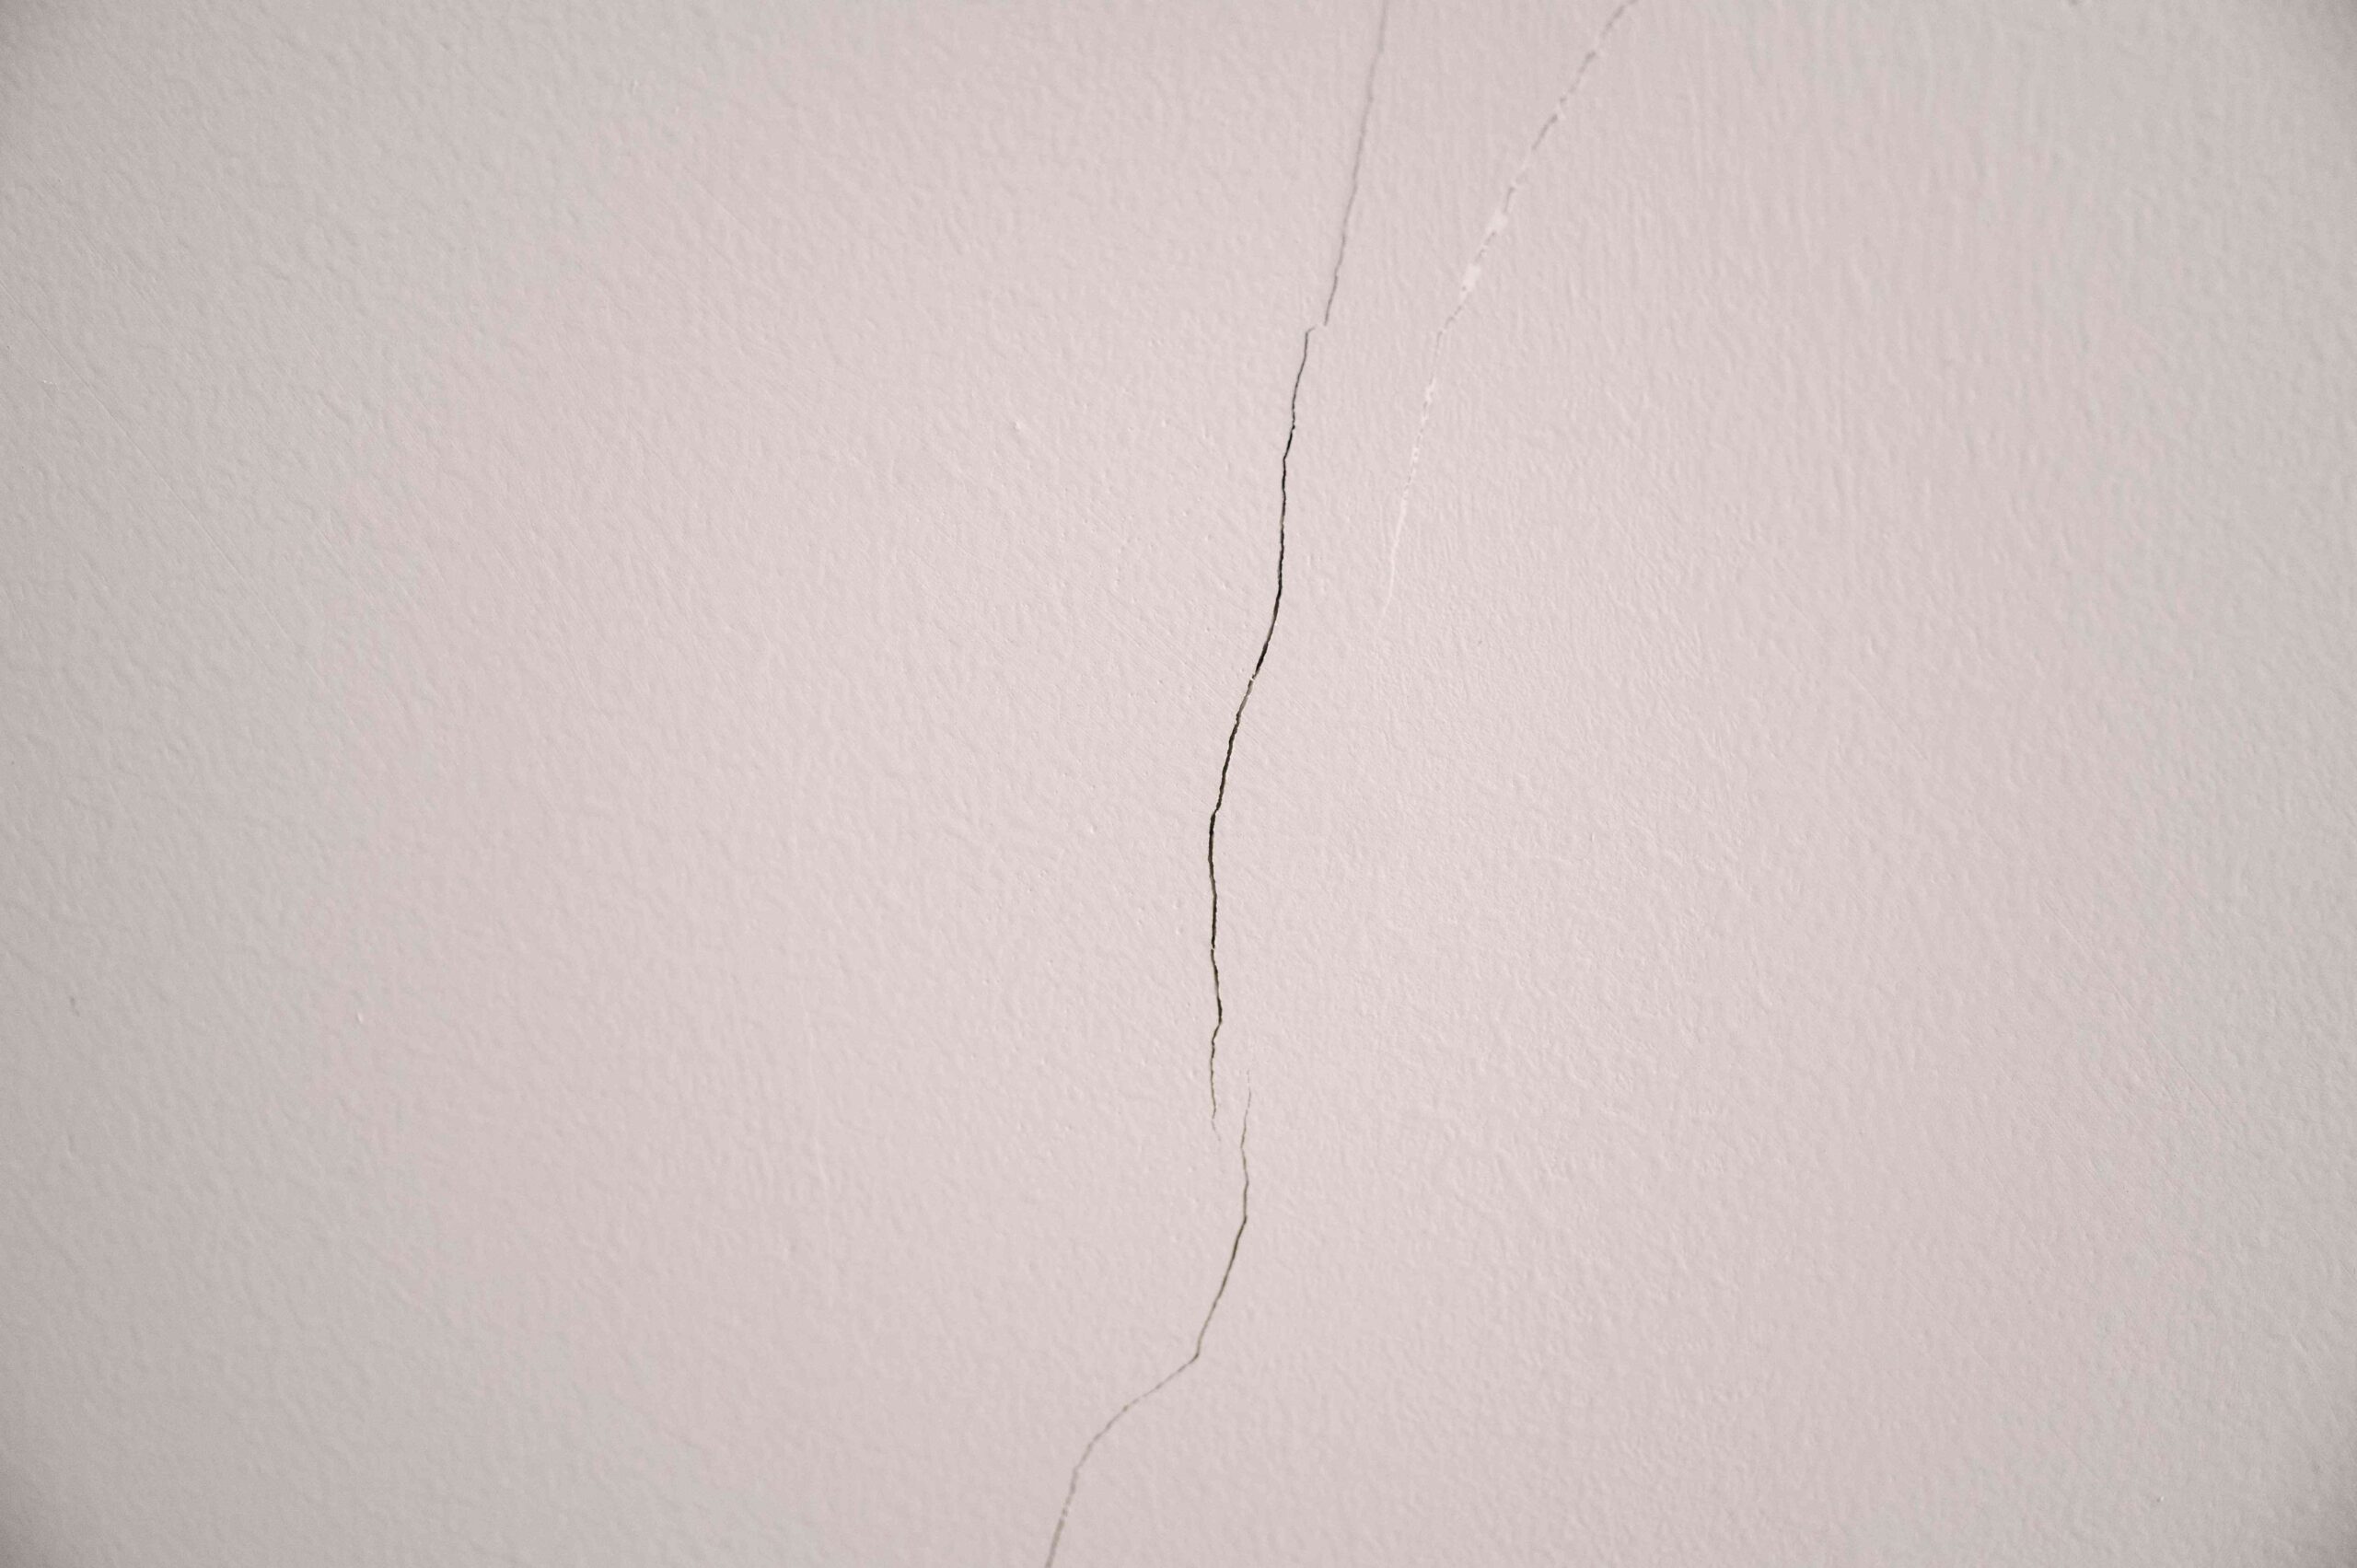
Step-by-Step Tutorial: Effective Hairline Crack Repair Methods
Hairline cracks in walls can be a common issue in new and old buildings, arising from settling, temperature changes, or structural stress. While these cracks may seem minor, they can develop into more significant problems. Repairing hairline cracks is a crucial step in maintaining the integrity and aesthetics of your living space. This step-by-step tutorial will guide you through effective hairline crack repair methods, helping you restore the appearance and stability of your walls.
1. Inspection and Preparation:
Begin by carefully examining the crack’s length, depth, and location. Clean the crack using a soft brush or compressed air to remove loose debris and dust. This will ensure proper adhesion of the hairline crack repair materials.
2. Choosing the Repair Material:
Select an appropriate repair material based on the wall’s composition. Flexible and elastomeric materials are ideal for hairline cracks as they can accommodate slight movements without re-cracking. Acrylic-based or latex-based crack fillers are commonly used for this purpose.
3. Application:
- Using a putty knife or a scraper, apply a small amount of the chosen repair material to the crack. Gently push the material into the crack while smoothing it over the surface. Ensure the filler is slightly overfilled to level with the wall once dried.
- For larger cracks, consider embedding a mesh tape designed for crack reinforcement before applying the filler. This adds extra strength to the repair.
4. Smoothing and Blending:
After applying the repair material, use the putty knife to smooth and blend it into the surrounding wall surface. Feather the edges to seamlessly transition between the repair and the wall. This step is essential for a visually appealing finish.
5. Drying Time:
Follow the manufacturer’s instructions for the recommended drying time. Most acrylic or latex-based crack fillers dry within a few hours. Avoid touching or disturbing the repair area during this period.
6. Sanding and Finishing:
Once the repair material is fully dry, lightly sand the surface to achieve a smooth finish. Wipe away dust and apply a coat of matching paint or wall finish to complete the repair. This step ensures that the repaired area blends seamlessly with the rest of the wall.
7. Preventive Measures:
To minimize the likelihood of future hairline cracks, consider addressing any underlying structural issues, such as poor foundation or inadequate insulation. Regular maintenance and keeping the environment consistent in humidity and temperature can also help prevent further cracks.
In conclusion, effectively repairing hairline cracks is an essential part of home maintenance that ensures your living space’s longevity and visual appeal. By following these step-by-step instructions, you can successfully repair hairline cracks in your walls and create a seamless, flawless finish.
Continue Reading